Here I will show you projects you can do and create beautiful creations right from the heart. Simple DIY projects, Scrapbook tips and techniques, as well as art tips and techniques. So lets create and I hope you enjoy.
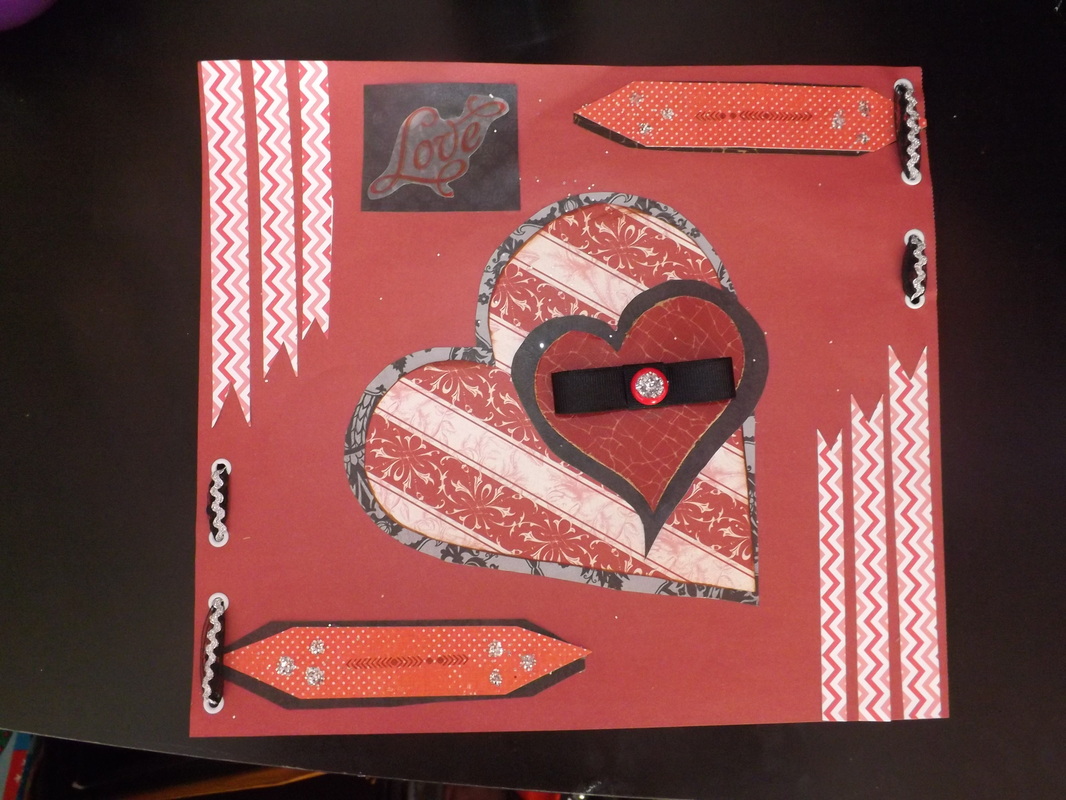
This is a sketch challenge I did for The GrandDiva's Creative Corner blog. I hope you like it!
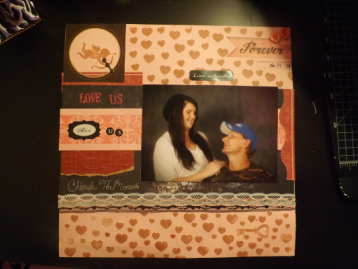
Valentine's Day Layout for Red Rubber Challenge.
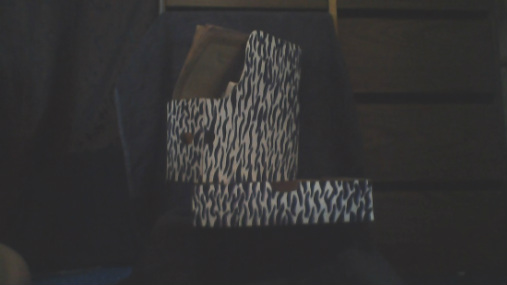
Here is my DIY office/craft/art supplies storage for your craft room or studio. Everyone of these are made out of cardboard box. The whole reason I wanted to do this is to show that you can make your own organization system for your hobby room on a budget. When I first done my craft room I went out and bought organizational storage, but one thing it was enough for all my stuff and I didn't want to pay $45 for a making memory's carousel. So I took the items back and refunded my money and I want to show people you can do these projects without spending a dime as long as you already have hot glue gun and something to decorate it with whether it be with paint or paper. So I hope you enjoy these as well as I did. Even after I made these DIY organization I loved them better than the store bought one I had at first. Here are two organization trays that is made out of cardboard. They are not layered it just look's like it because of the way I had it sitting to show you. I hand painted them zebra print with a purple Line.
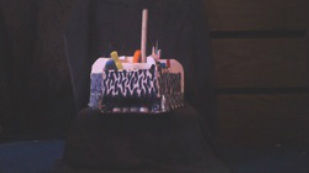
My version of the making memories carousel. I love this! After I had made a few different organization systems I wanted to make one of these so bad, but I didn't know how to get it to spin like the real one and I was unsure how to get the drawers right. So after figuring and scratching my head for two weeks I finally figured it out. And here it is. It only has three drawers instead of all the way around and I was going to put the label holders on them but after I painted it to match the rest I don't think it would look good so I left them off. I used a 6" Lazy Susan bearing to make it spin and now all I have to do is find some knobs for the drawer.
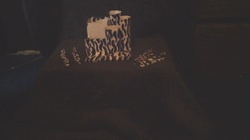
This is my small art storage. It holds my pencils, brushes, blending stumps, and erasers. I also made four matching clothes pins to hang things with or just decorate the room. All I used here was a piece of square cardboard and made a square box for the pencils and used a paper towel holder and cut it into three different size sections and hot clued it to the bottom. I left a piece of cardboard in front sticking out to set my erasers on because it seems like I am always reaching for them so I just left a platform for them to set on.
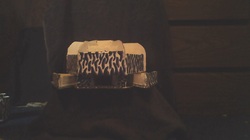
These are a little shelving unit I made for my little trays of art material and nick nacks I have. They really do the use I need them to and once again I just painted them to match the rest of my organization.
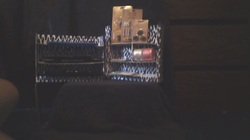
Here is the shelving unit again showing you what it can hold. I have some Tim Holtz trinkets on top and my two spools of birthday ribbon and a couple of packs of button on the bottom shelf.
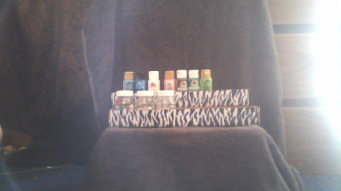
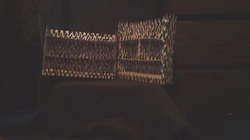
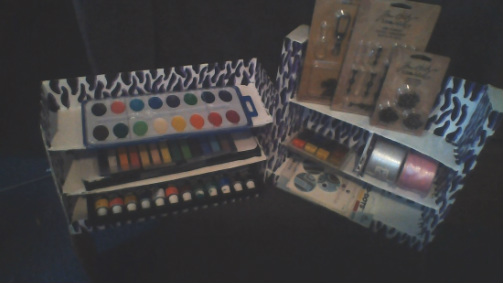
BOTTOM: the bottom picture is a close up and an angle to where you can see how I use both shelf. the second shelf I use for my acrylic set, oil pastel set, soft pastel set, and watercolor. I really love these sets because one I made them myself, two it didn't cost me a thing, and two there all a matching set.
BOTTOM: the bottom picture is a close up and an angle to where you can see how I use both shelf. the second shelf I use for my acrylic set, oil pastel set, soft pastel set, and watercolor. I really love these sets because one I made them myself, two it didn't cost me a thing, and two there all a matching set.
These were the first item I made and its just a 12x12 paper holder and a 12x12 paper scrap holder. The reason I really like these is they are a mimic to the cropper hopper paper holder but didn't cost me a thing. They are curved just like the cropper hopper and have the holes on the front as well as the side like the cropper hopper. To get the holes like this I used a Dole brand banana box because they have the wholes already set. I already have paper in it the reason it looks like it is tour but it is not it is very sturdy.
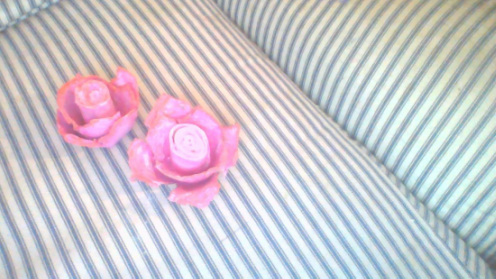
This is a project made from card board egg carton and is transformed into two beautiful roses!!
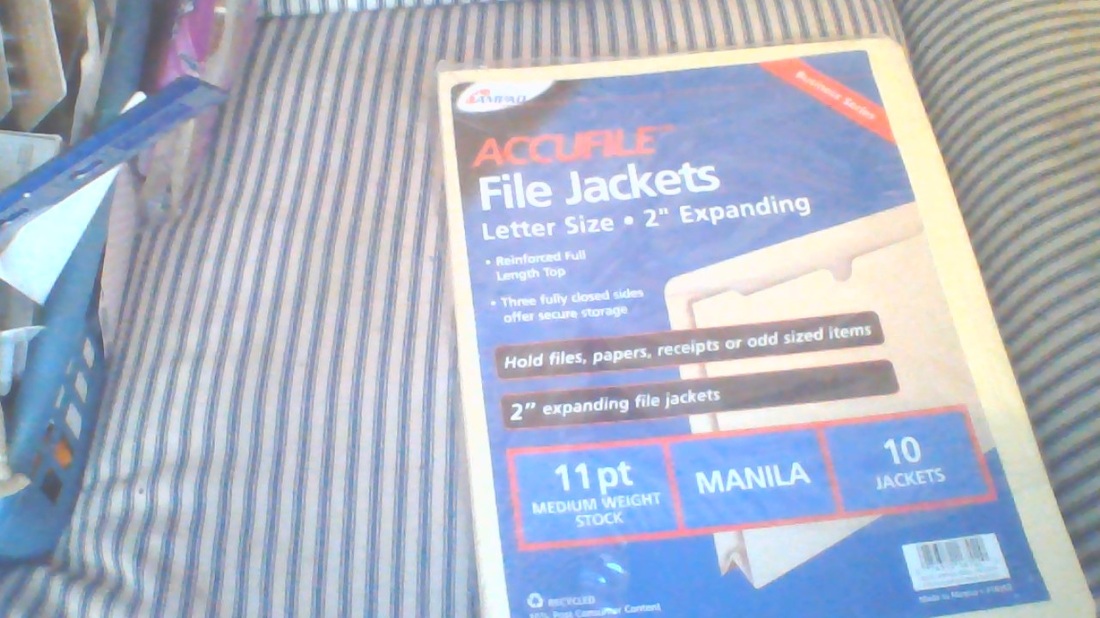
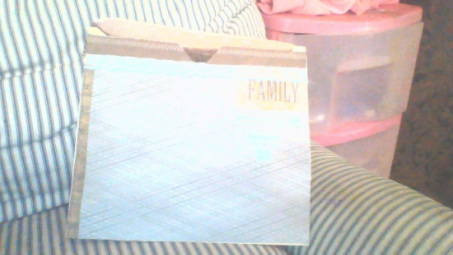
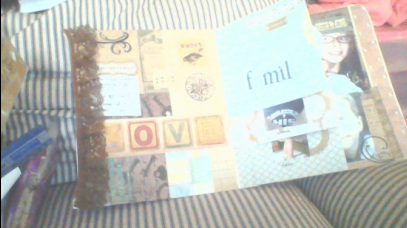
What can you make out of manila folders? Hmmm..... My version of the memory file system!!!
So I hope you liked this idea and I will have many more to come!!!!
DIY: Alcohol Inks!!!
Items Needed:
Sharpie assorted color pack, Alcohol at least 91%, empty bottles with nozzle and pliers also gloves if you don't want to get ink on you.
Step 1: Take the alcohol and pour into the bottle.
Step 2: Take your pliers and pull the tip or nib off and place in the bottle
Step 3: Take your pliers and latch on to the colored plastic tip and wiggle back and forth till it pops off. Once off pull the tube of ink out and place into the container.
Step 4: Let it set for 1 hour or for thirty minutes and cut the plastic seal off of the tube of ink then let it set for another hour.
Step 5: After you have let it set you can then take out the nib, and ink tubes and discard them. You can squeeze out the excess ink if you want.
Now you have your own alcohol ink and if you want to label them you can go to www.sharpie.com and get the names of every color they make including the 80's glam and metallic! I hope you enjoyed.
DIY: Mod Podge
I know they are many videos on the internet how to do this so instead of making a video I'm just putting it in my DIY project list!
Items Needed:
Elmer's school glue, water, and a container of your choice.
Step 1: Take one bottle of Elmer's school glue and pour into the container.
Step 2: now take your almost empty glue bottle and fill it up with water (shake it a little to get any leftover glue loose.)
Step 3: Now pour the water into the container with glue.
Step 4: Put lid on tight and shake it really well!!
Depending on how much you want to make whether to use one or more bottles of glue, just remember they have to be equal parts. 1 part glue to 1 part water. That is why I use the glue bottle to put water in so I know It is the same amount.
So I hope you really enjoyed these and there is more to come because I am not finished yet! If you want instructions to how any of these are made please contact me or leave a comment and I will send you instructions.
